I’m Kailee. I’m a natural light photographer based in Eastern Washington and absolutely LOVE what I do. My passion for photography started when I took my first film class as a junior in high school and has continued to grow ever since. After a couple of years of practice, I chose to take the plunge and start my business.
Fast forward to now and after hours upon HOURS of trying to figure out my style, niche, and oh so many business details, I feel that I have finally found what I love most…senior photography! Although I truly enjoy offering all aspects of portrait photography, I just LOVE working with my seniors to create images that capture their unique personality and beauty. read more
My name is Jessica Kloock… I have always liked taking pictures… but got my first “Big Girl Camera” 2 years ago… I haven’t put it down since. I took a few lessons from a local photographer, but learned a lot on my own, reading everything I could.. and taking lots of crummy pictures… learning from my many mistakes. I have found lots of wonderful sites on the internet and have joined some groups on Facebook My tip is to learn everything you can about light… that is the best tip I was given when first starting out. My facebook page is www.facebook.com/jessicamkloock 

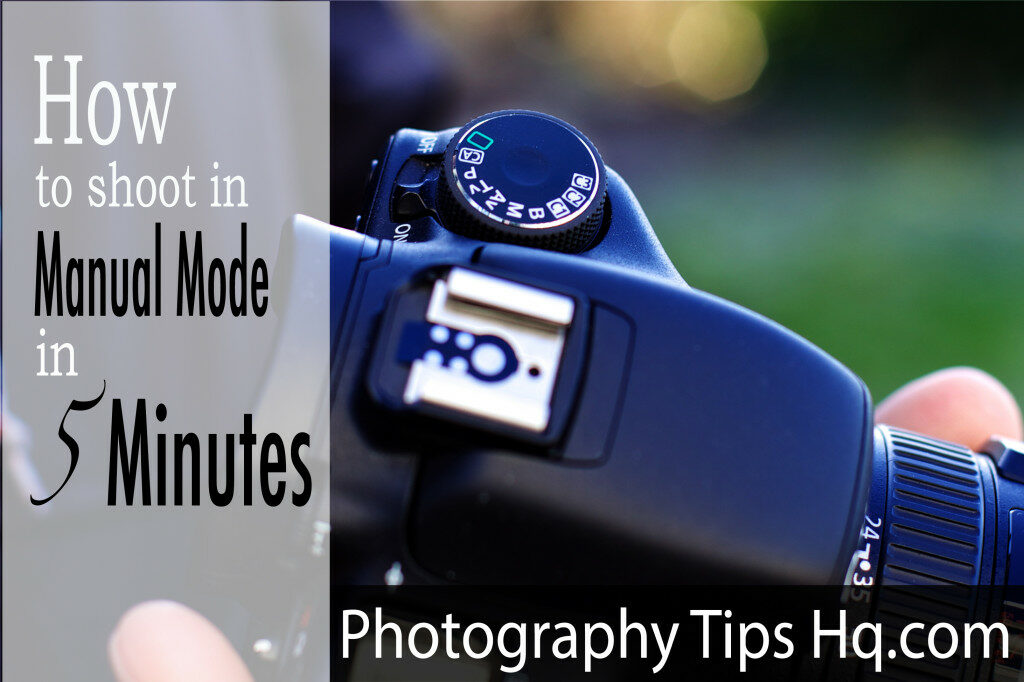
The trifecta when it comes to being able to shoot in manual mode:
- Aperture:
- Aperture determines the size of the hole in the lens that lets light in.
- If you are taking a portrait and want a blurry background go with a low f/stop like 1.2-2.8.
- The lower the f/stop, the shallower the depth of field. (Shallow depth of field = blurry back ground)
- If you want a landscape shot with lots of detail through out, select a higher f/stop to get deeper depth of field. (Deep depth of field = more details in background)
- The lower the f/stop, the wider the aperture, the more light gets in. (f/1.2 lots of light-f/22 very little light)
- Shutter speed:
- The speed of the shutter determines how long light will be exposed to the sensor to capture an image.
- If too much light is let in, your highlights will be blown out, overexposed.
- If its too slow the image will be dark, under exposed.
- Slow shutter speeds can allow you to capture motion, a moving vehicle at night will look like a streak of light. (1/15 – 30″ seconds will capture motion)
- Fast shutter speed will allow you to freeze motion. (1/200 and up will freeze motion)
- A tripod is necessary for slower shutter speeds to keep stationary objects sharp.
- If shooting hand held, try to keep your shutter at double your focal length, when possible.* (100mm zoom = 1/200 shutter speed)*That tip comes from this great article on how to photograph couples.
- ISO:
- Measures how sensitive to the light, the image sensor is.
- The higher the ISO allows you to have faster shutter speeds in low light.
- ISO can range from 100-102400.
- High ISO will create noise in your photograph. (Noise = grainy effect on photos)
- Noise is the most noticeable in dark area of your photos.
- Please note that the view finder will not be an accurate representation of the noise in the photo, because of how small the screen is.
- Test your camera in low light to see what the maximum ISO you can use, before the photos are too noisy.
Now that we have broken down the three main parts to shoot in manual mode, lets do a step by step of how to shoot in manual mode, while shooting hand held, not a on a tripod.
- Set your ISO to its lowest setting.
- Choose the aperture based on the type of photo you are taking. (Portrait with shallow depth of field= low f/stop like f/1.8 Landscape shot with deeper depth of field would be a higher f/stop like f/11) Quick tip: your lens will be sharpest at two f/stops above its lowest f/stop (example: 85mm 1.4 lens is sharpest at f/2).
- Next thing to do is look through the view finder and focus on your subject. In your view finder you should see the exposure level indicator, increase or decrease your shutter speed with the control dial until you reach the center or zero.
- Press the shutter and capture the image. If in a low light situation, your shutter speed needs to be no lower than 1/60 (the higher it can be the better) of second to avoid motion blur.
- If in low light, you will need to in crease your ISO. What I will do is move my ISO up a little, focus the shot, then press the shutter halfway down and check my exposure level indicator.
- Press the shutter and capture the image.
Quick tips
- Read your camera’s manual.
- Check the outside of your lens to see the lowest f/stop it’s marked.
- Turn on image review, make sure the shot looks how you want it to.
- Use a tripod whenever possible.
- Practice, practice, practice,
- You can reduce noise in post production, but it can make your images look soft.
You are on your way to taking control of your camera and being able to shoot in manual mode.
Example settings: Outdoor portrait partly sunny day:Aperture f/2 Shutter 1/250 or higher ISO 100Outdoor landscape partly sunny day. Aperture f/11 Shutter 1/125ISO 100Low light portraitAperture f/2Shutter 1/60ISO 400-1000 read more
Beginner photography tips
Lesson #1 The Camera
You have an expensive DSLR and when you look at all the buttons and dials, it intimidates you. I can remember holding my Nikon D80 for the first time being worried that if I touched one of those buttons on my camera, I wouldn’t know how to get it back to functioning. I would change a setting and the pictures would not turn out, so I would fall back to “auto” just to get an “ok” photo. Fear and frustration kept me shooting auto and my expensive DSLR was nothing more than an expensive point and shoot. Don’t let fear and frustration dictate the kind of photos you take any longer! You can take control of the camera and start taking the photos you have dreamt of taking! read more
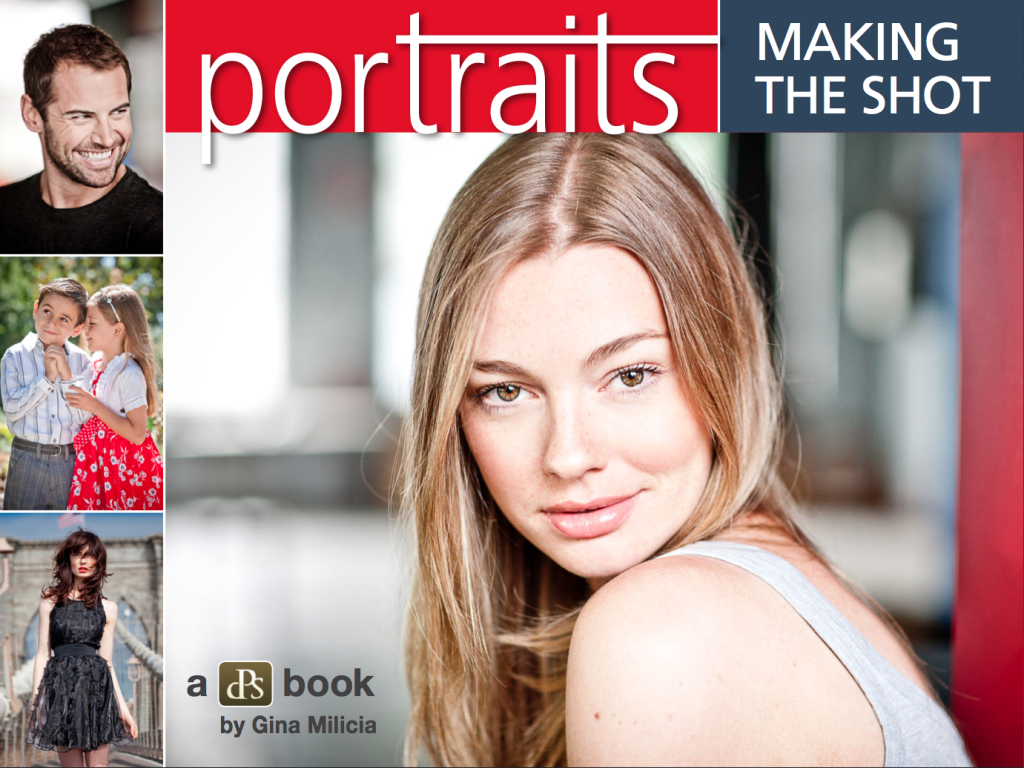
Click here to view more details
This is a great resource for beginner to intermediate photographers if you are interested in how to take better portraits. The ebook is very well written, and by the time you are through with it you will understand all the mechanics to taking great portraits. I have had this book for about a week and I know it will be something I reference for years to come. Gina, has been in the business for over 25 years and she explains how, though hard work, she was able to get her first job. After a little about her self, she explains that this is the book she wished she had 25 years ago when she was starting out. She breaks it down into 10 rules her photography lives by, things like getting the camera off auto and shooting raw. Next she talks about the gear she uses and how one lens is her work horse. “The Three Amigos of Photography” is a chapter that gives great insight on aperture, shutter speed and ISO. She explains in great detail how the three work together. In the next chapter she discusses lighting and gives a great tip that I discovered not long ago, how to get softer skin on a subject. She explains that over exposing by 1/2 to 1 f stop will give your subject beautiful skin without losing the details of the rest of the image. Posing is the main focus of the next chapter and the final chapter is some great words of advice and encouragement for your journey as a photographer read more